


Aftermarket rear heat exchanger instructions |
If you have studs, which I highly recommend, follow Option 1 instructions:
Remove the black plastic heater hose cover by
drilling out the rivets. Then remove the cross over hose and cover the open
holes in the tunnel heat exchangers. Then proceed to one of the options
below.
Option 1, with track studs
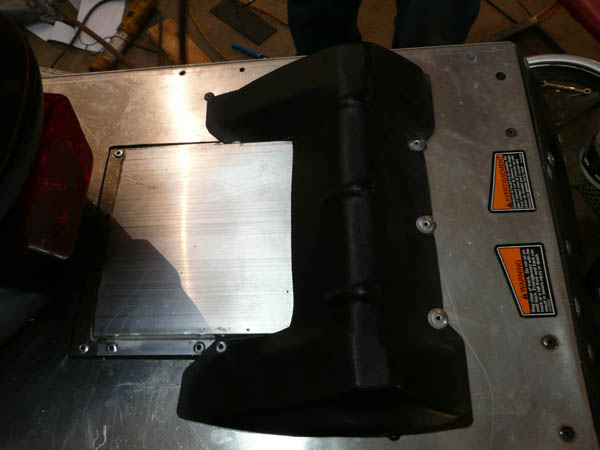
Place the new heat exchanger on the top of your tunnel with the hose mounts
towards the rear and facing upwards. Line up the hose flanges directly
between the two outlets from your current heat exchangers so they are all in
a line and Mark it with the magic marker. Then you cut a hole in your tunnel
the same size as the raised portion of the cooler which is normally 5 in
wide and 10 in long only do not trace and cut the whole cooler section out.
After that you can cut the hoses down as low as you want and attach them one
side of the hose will be about an inch longer than the other side. Then
drill and put your rivets in.
Option 2, without track studs
If you're not running studs the cooler can be mounted from underneath and
you only have to drill two holes in the tunnel so that you can connect the
cooling hoses however you will need to buy longer rivets. Only do this if
you are non-studded and do not plan on studying the sled later.
These pictures were taken while installing the original heat exchangers. The Aftermarket exchanger is a little smaller. All the fuel tanks will fit over these exchangers. This is Option 1.
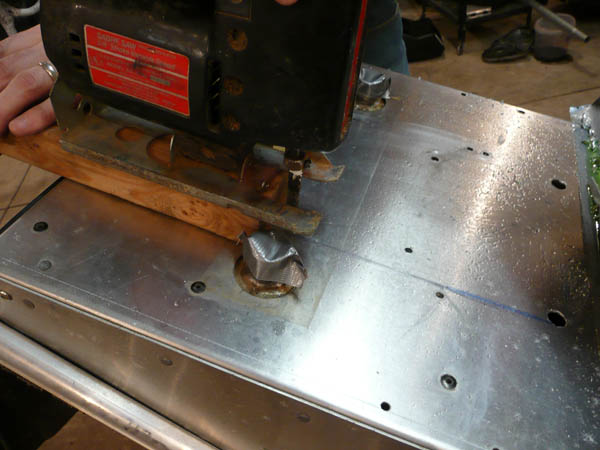
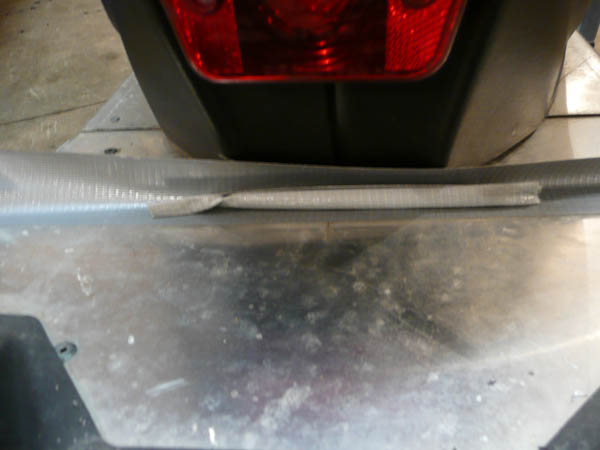 lay some duct tape partially down as shown to catch shavings |
 drill out rivets on cover |
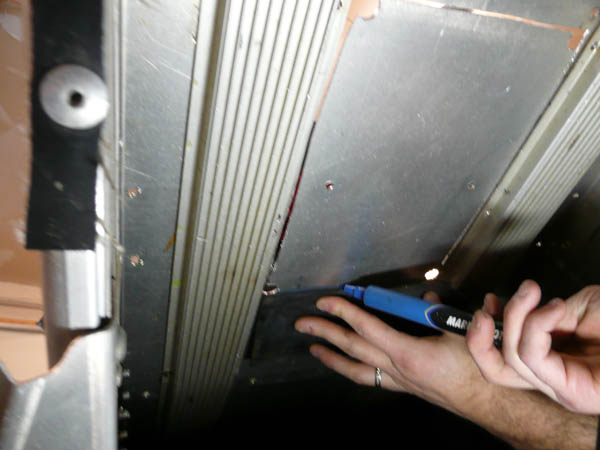
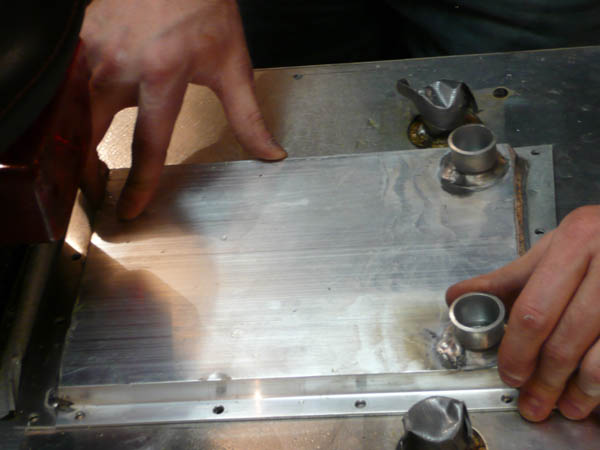 set heat exchanger into place lining up all the outlets to mark placement with a marker but do not cut yet |
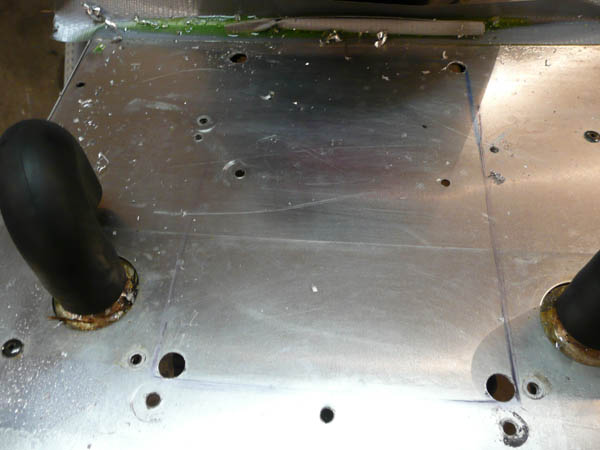 Measure the raised section of the heat exchanger and mark in on the tunnel those same dimensions to cut. |
 Cut out the dimensions you measured. On the aftermarket exchanger we sell cut out 5"x10" |
 mark and cut from underneath if needed |
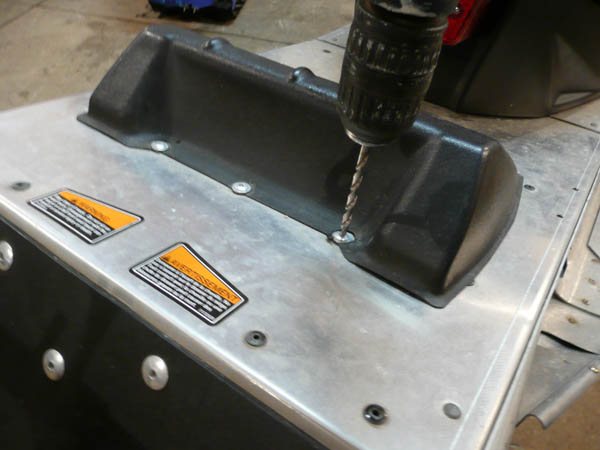
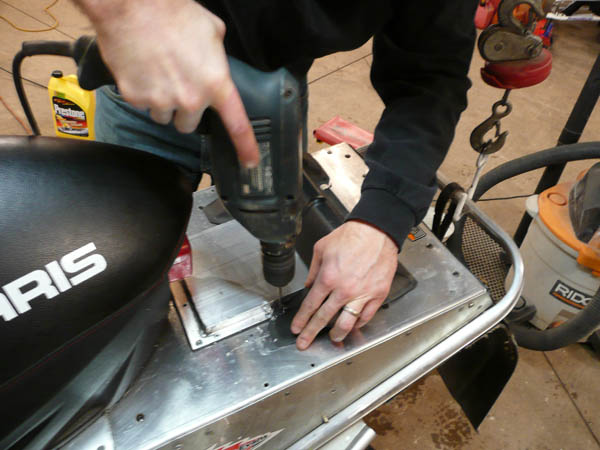 Drill 3/16" holes for rivets |
 Drill holes and rivet in place |
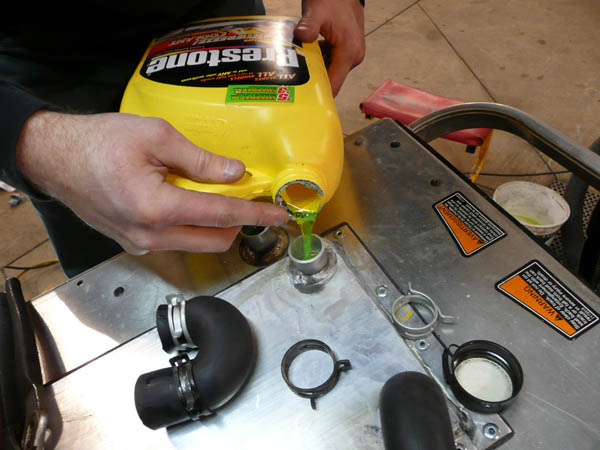 Fill with coolant |
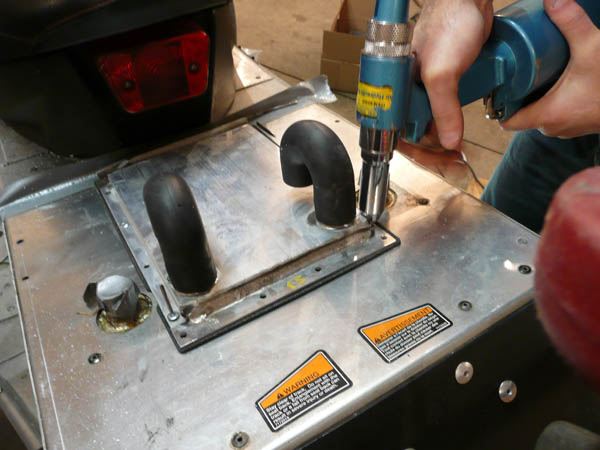
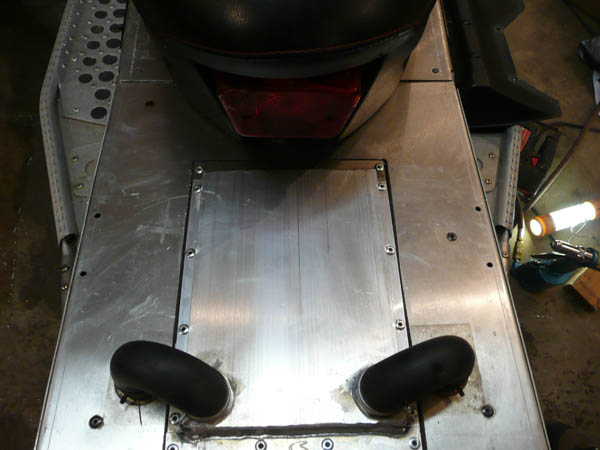 Cut down and attach U hoses. One side will be longer on each. |
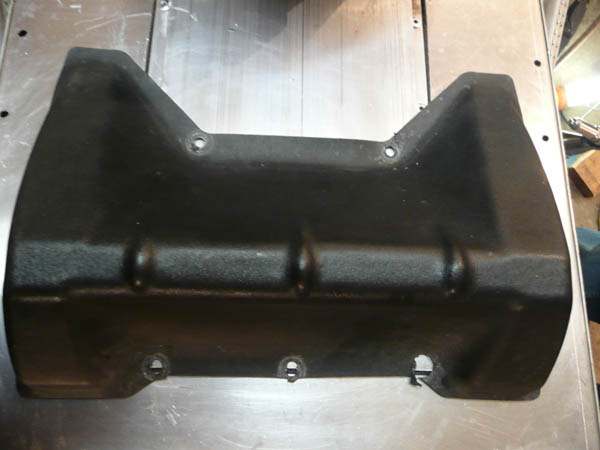 Place cover in place and mark to cut. |
 Cut |
|
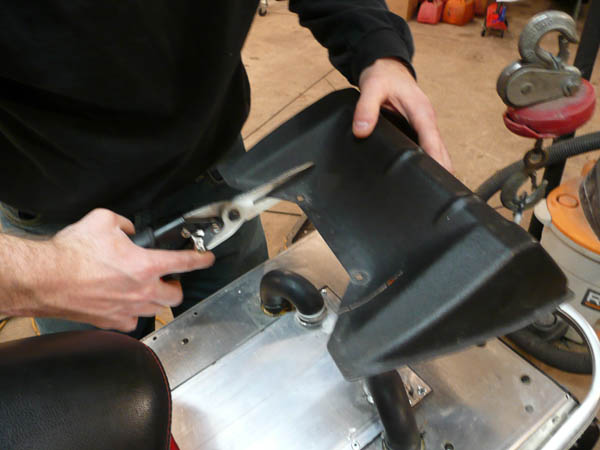
Carefully drill the holes to remount the plastic |
 Your finished product should look like this |
|
Back to the Polaris IQ parts and accessories page |